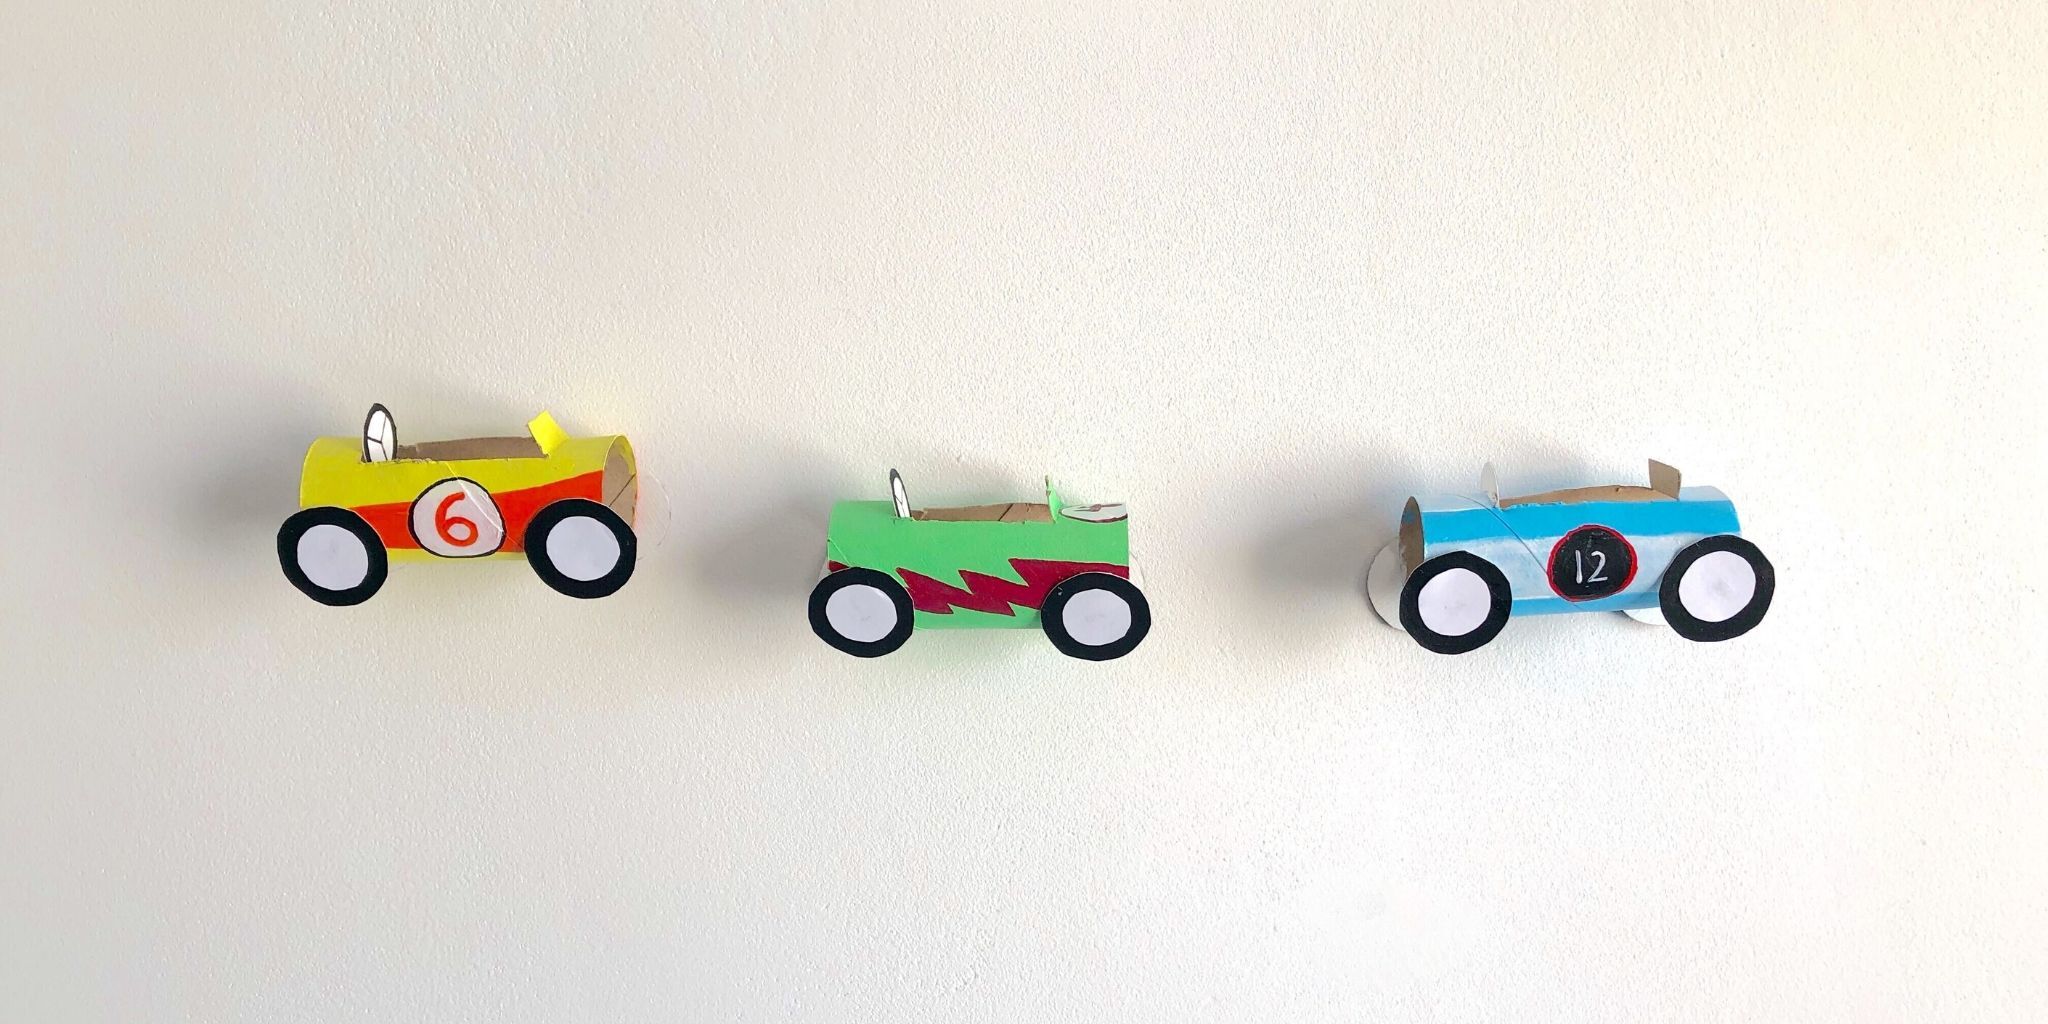
Toilet Paper Roll Racing Cars
Do your kids love to leave empty toilet rolls lying around for you to tidy up? Well, instead of throwing them out, why not gather the kids and create fun DIY toilet paper roll crafts instead? We’ve designed our DIY racing cars using little more than recycled toilet paper rolls and a bit of paint!
Take a look at our step-by-step video tutorial on crafting your own toilet paper roll racing cars! For a more detailed description, read our blog below.
To get started, you’ll need just a few things:
- Toilet paper rolls
- Acrylic paint
- Scissors
- Paper
- Glue

Once you’ve found the materials you’ll need for your DIY, it’s time to decide what color your racing cars are going to be. We decided to create 3 racing cars, but you can make as many or as few as you’d like (depending on how many empty toilet rolls you’ve got!).

We painted our recycled toilet paper rolls in 3 different colors: blue, green and yellow. You might want to create a classic red racing car! Tip: you can also use colored paper instead of paint.

This is the trickiest part! I used a pair of mini sewing scissors to cut a rectangular shape from the toilet paper rolls. If you don’t happen to have a pair of tiny scissors at home (which I’ll wager most people don’t!), you can also use a stanley knife. Important note: this step requires parental help and is not safe for young children to do by themselves.
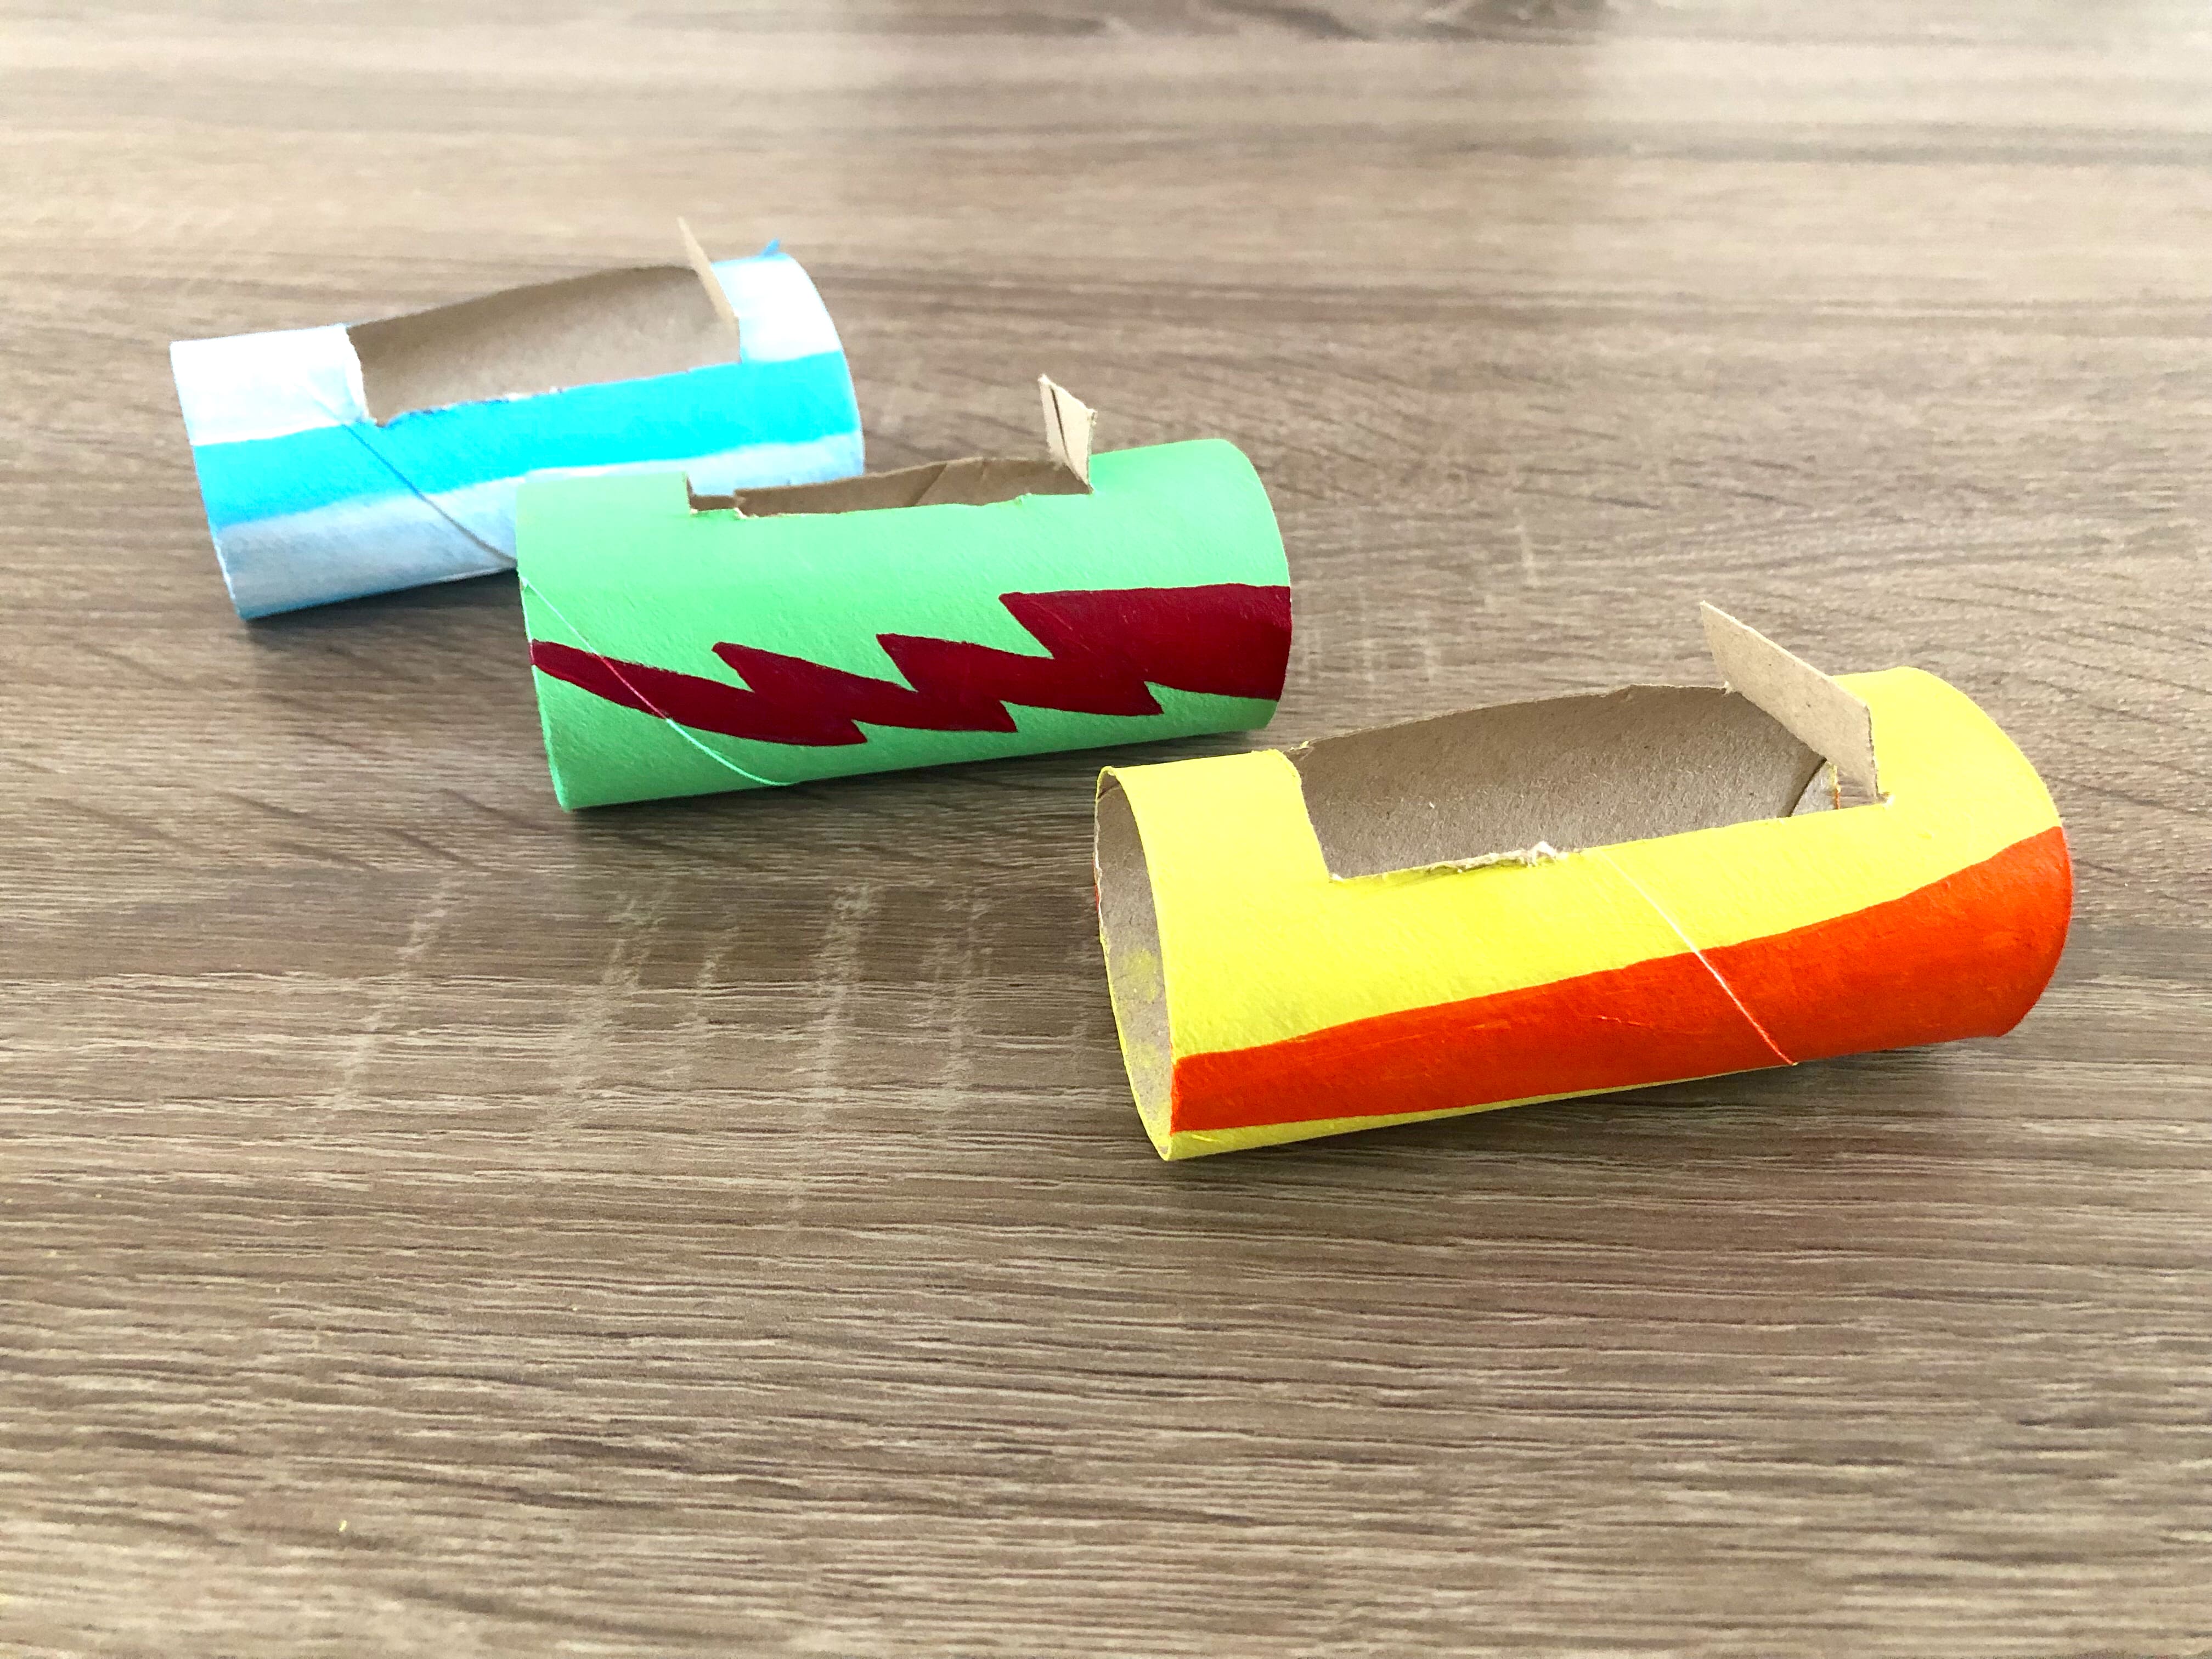
And now it’s time to decorate your racing cars! We opted for a cool lightning bolt design on our green racing car, and some simple striped designs on the other cars.
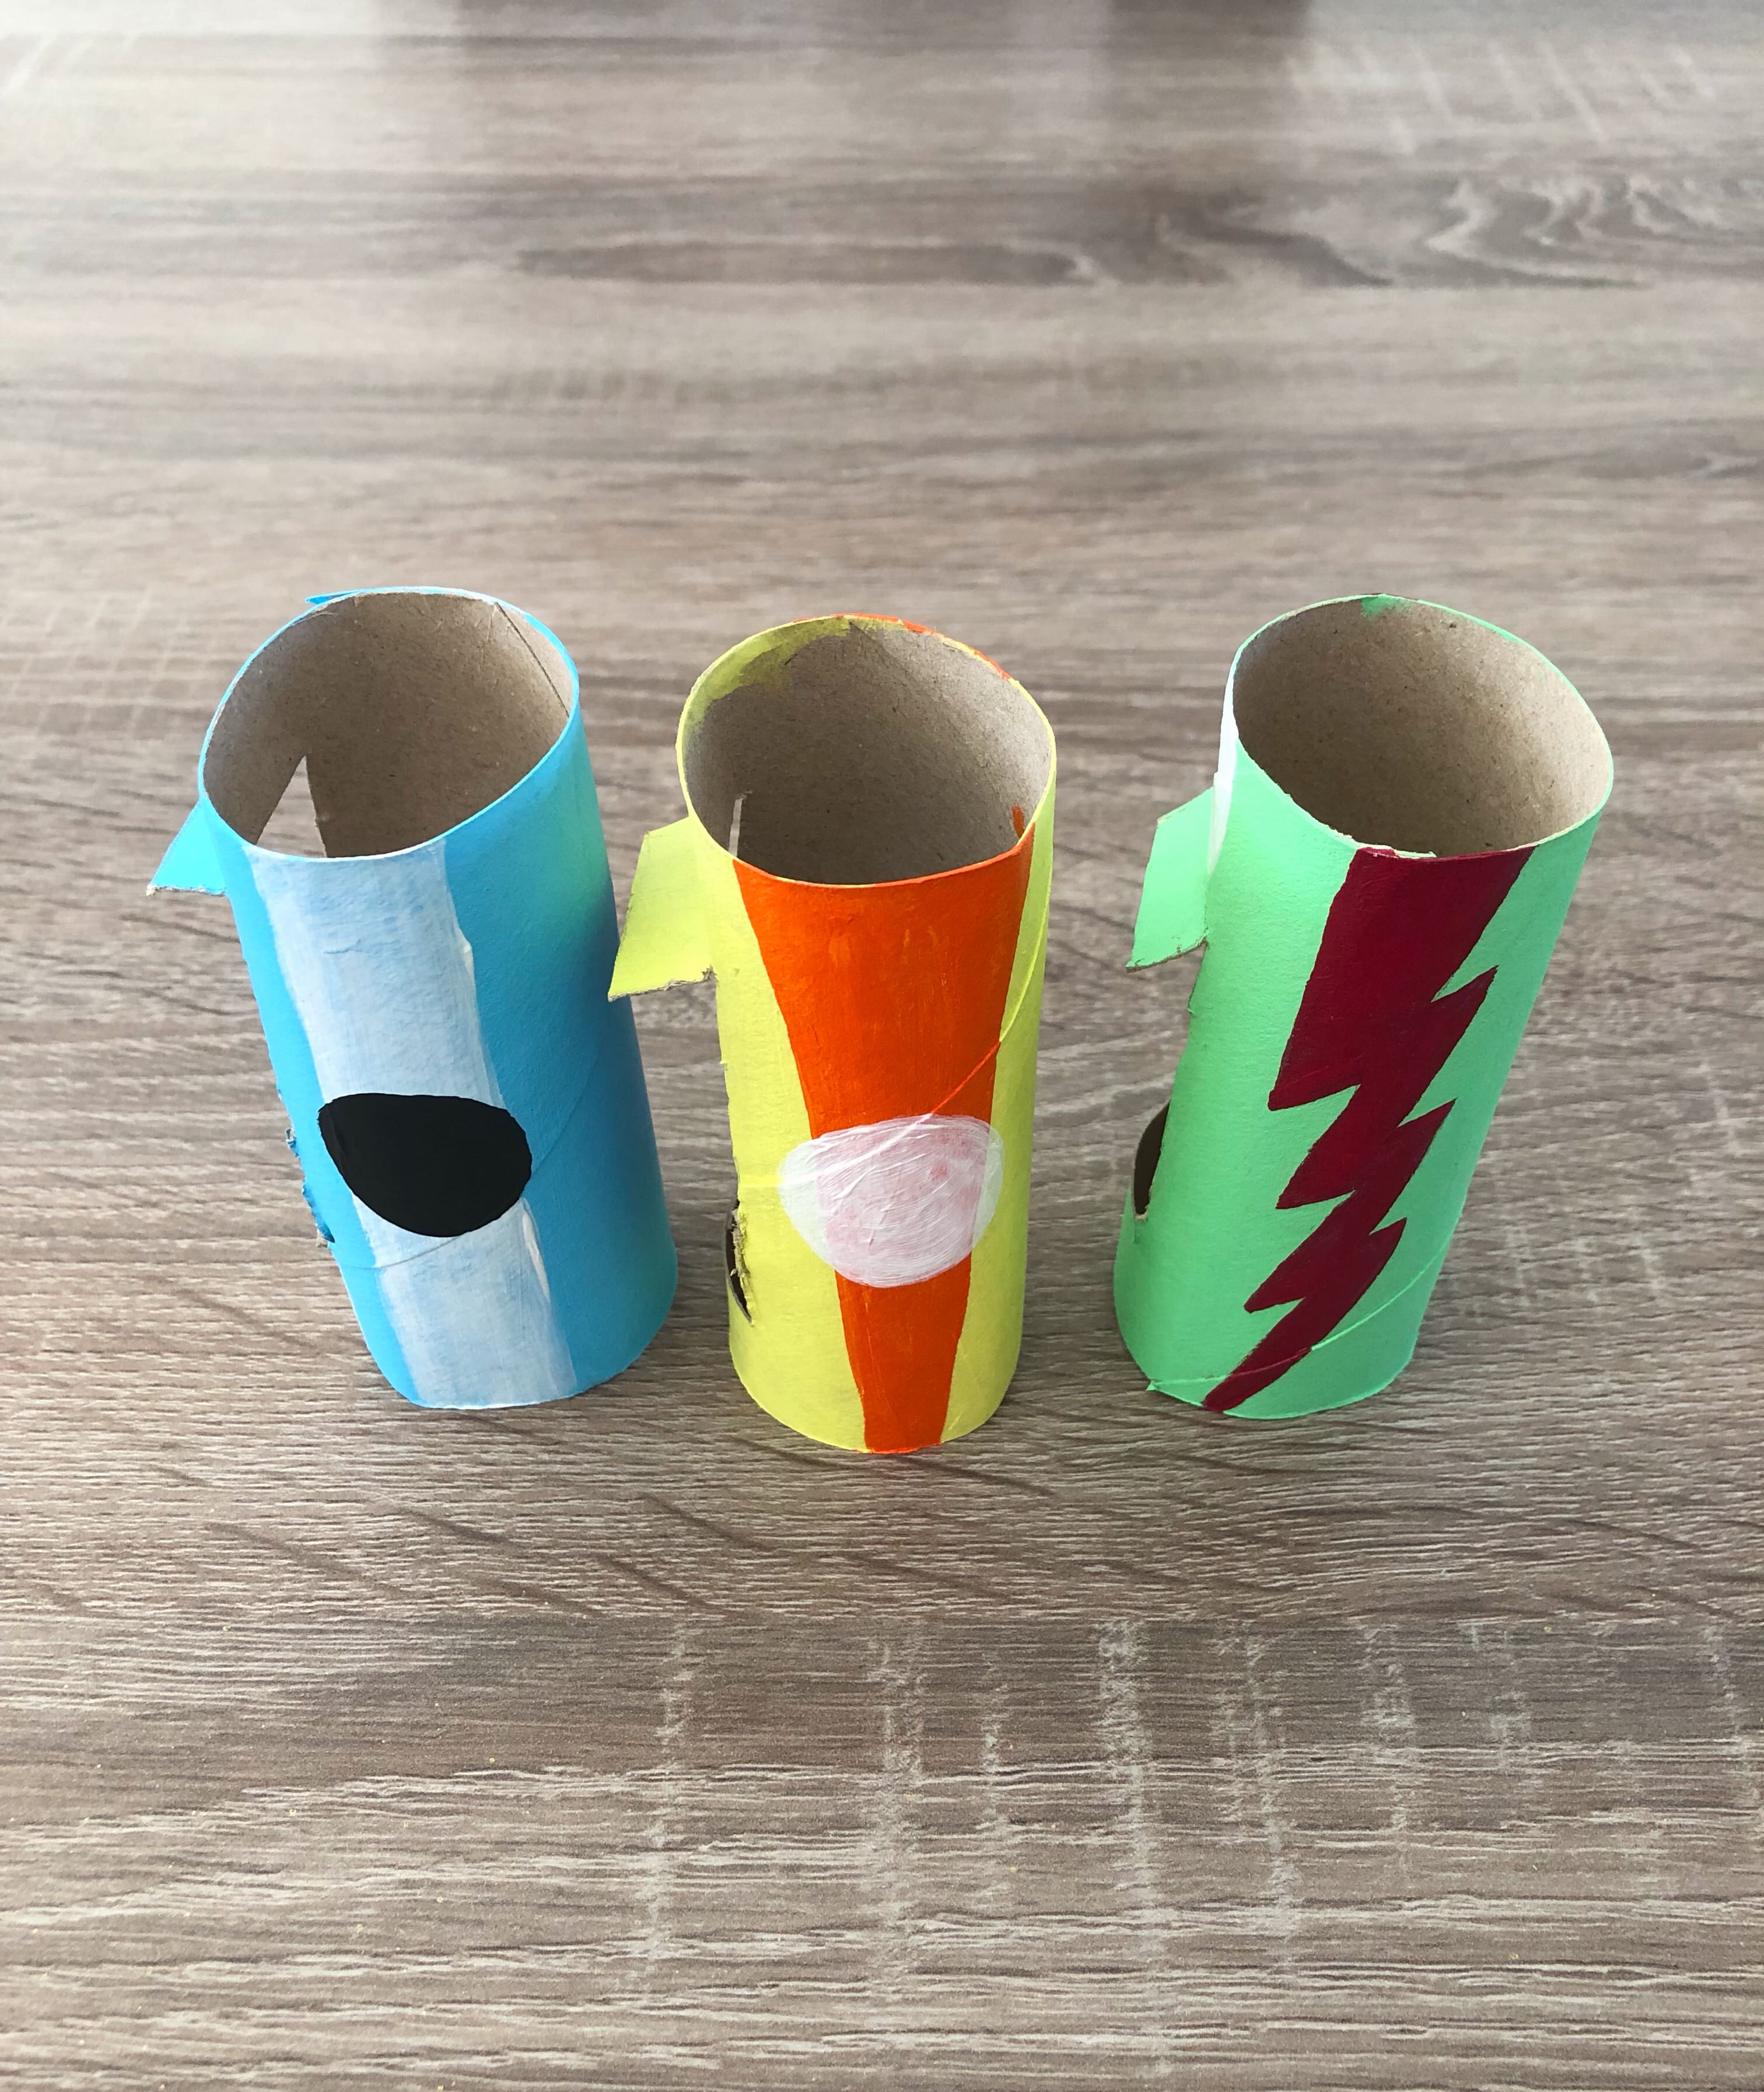
We painted a circle on each car with a few coats of paint before adding the racing numbers. Tip: if you’re kids are impatiently waiting for the paint to dry, you can always speed up the process with a blow dryer.
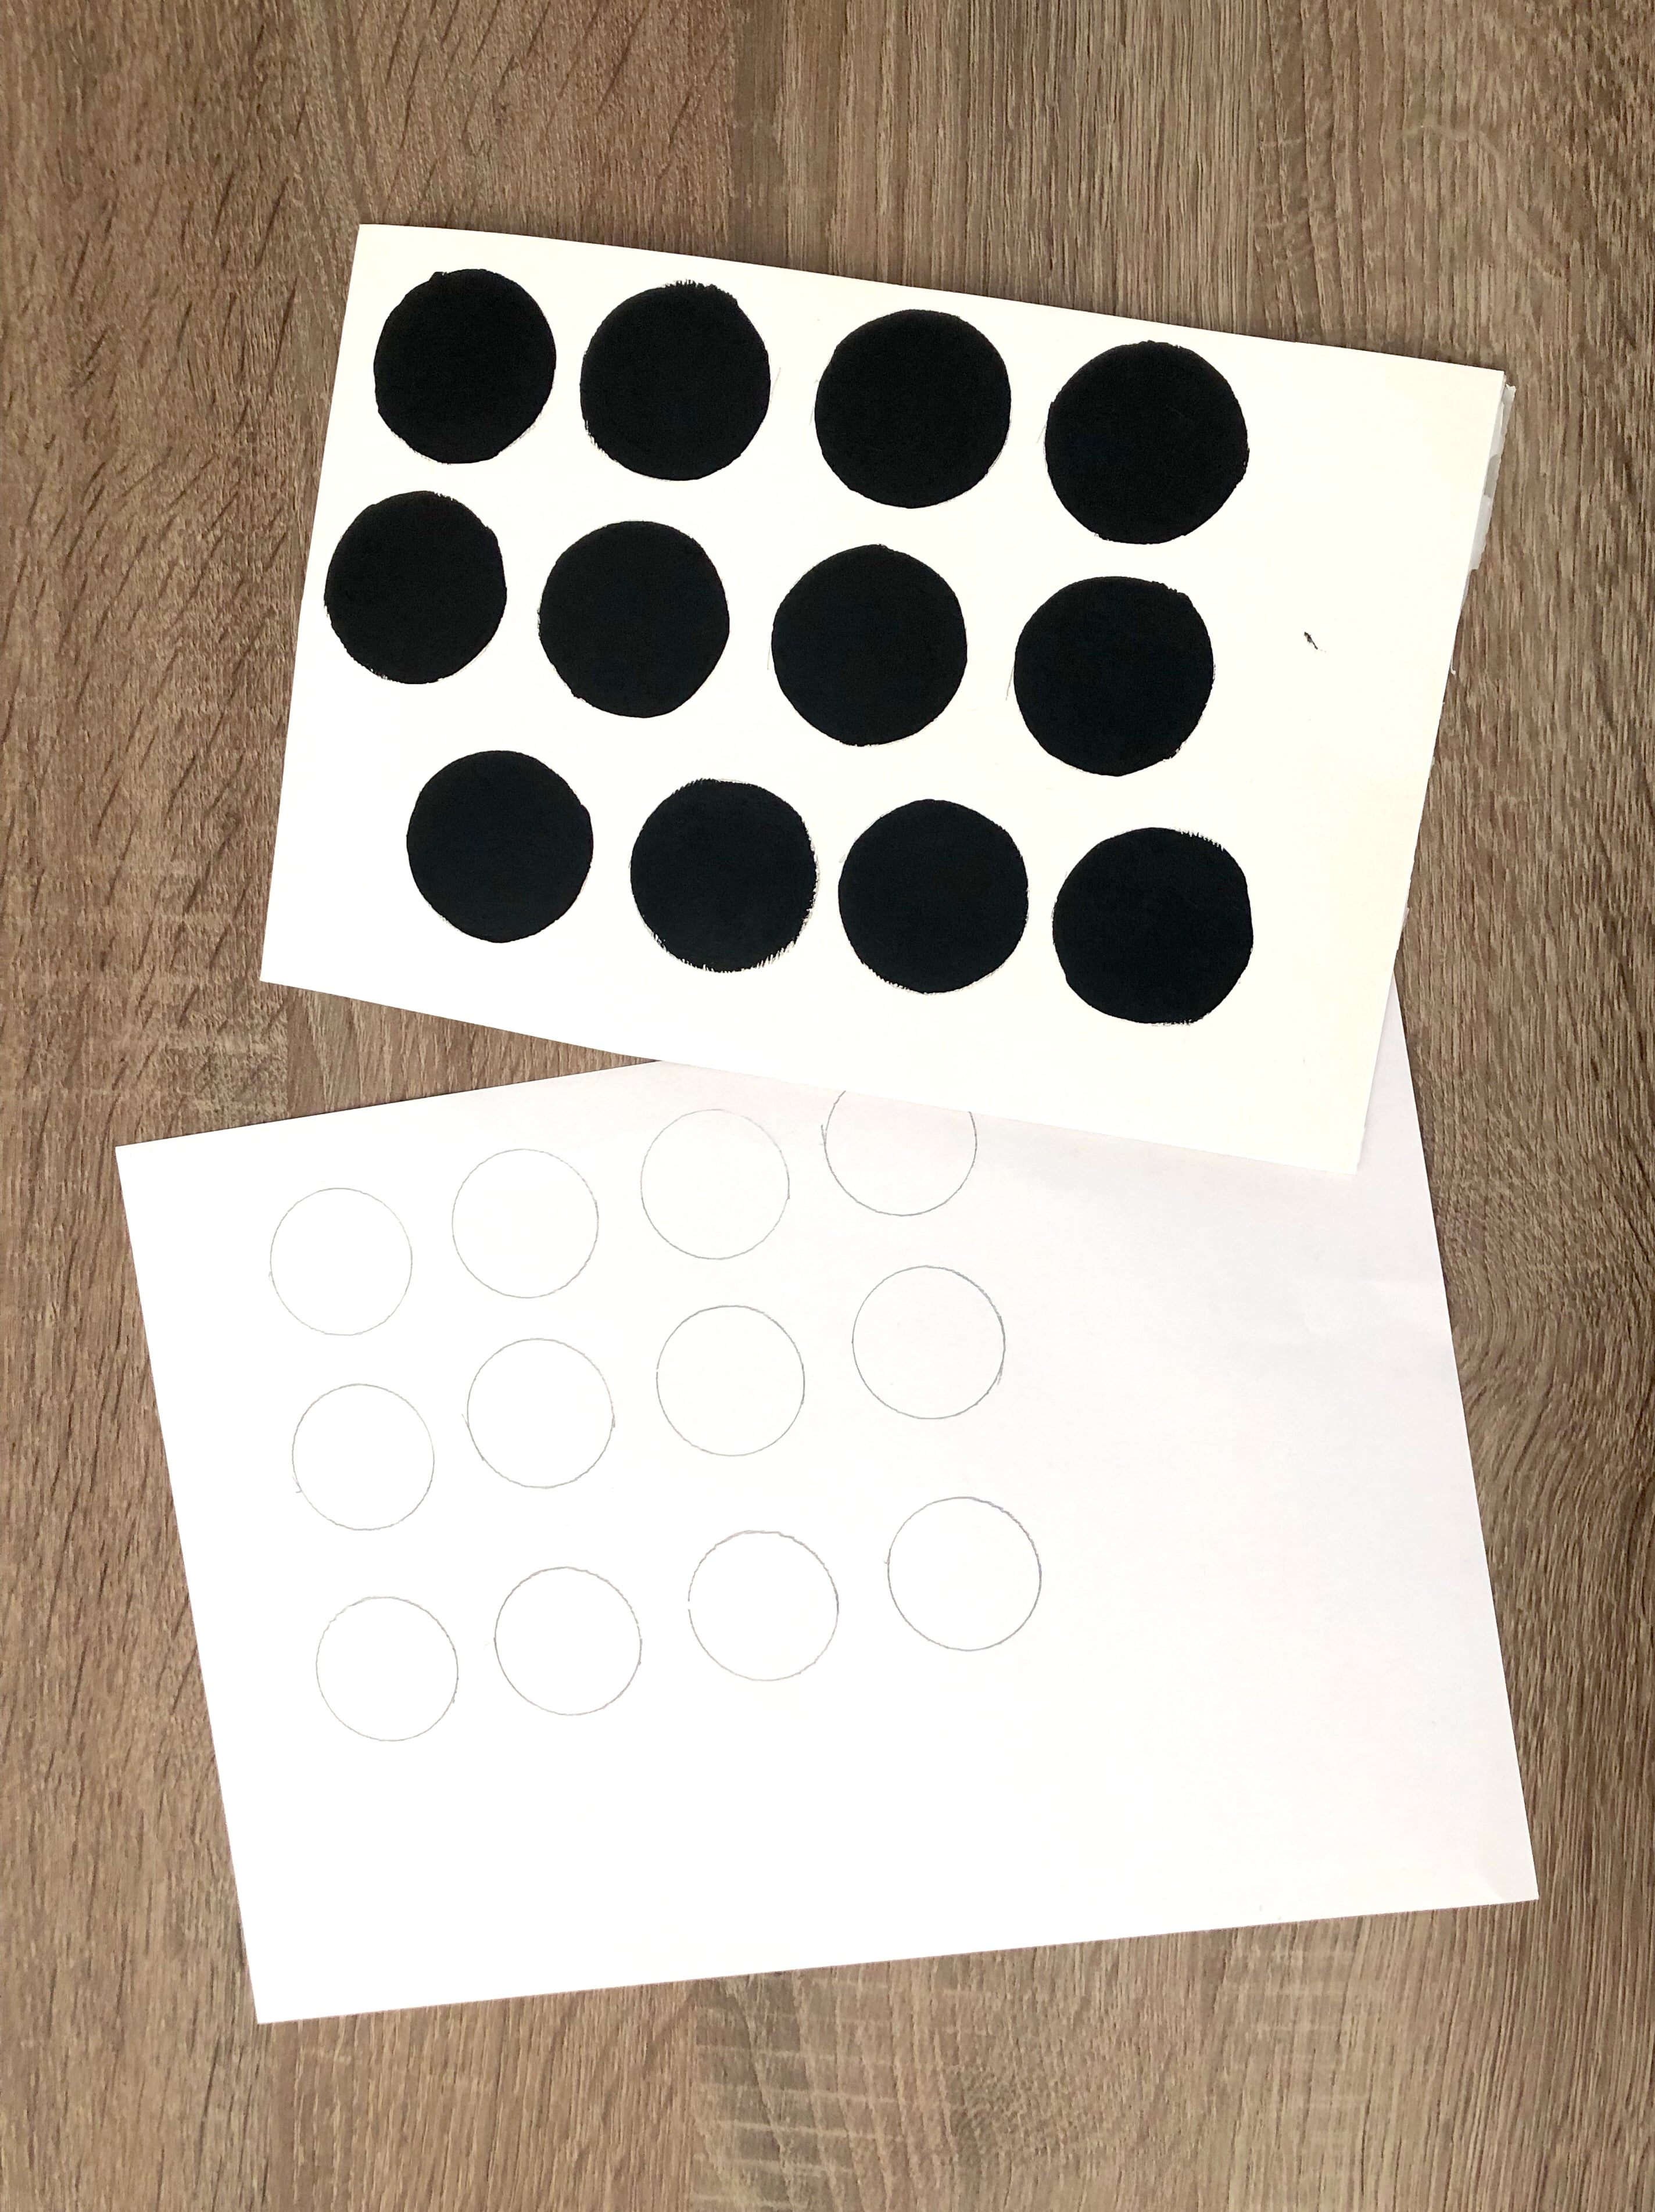
Now to add the wheels! We painted black circles on 400 gram acrylic paper (but any thick paper will do) and then drew slightly smaller circles onto white paper. If you happen to have black paper, then that’ll save you some time! We made 3 cars with 4 wheels each, so we made 12 wheels in total.

Once you’ve painted and drawn your wheels, it’s time to cut them out using a pair of scissors. Next, you can glue the tire rims (white circles) onto your slightly larger car tires (black circles). We used all-purpose quick drying glue for this step, but simple PVA glue or a glue stick will also do the trick!
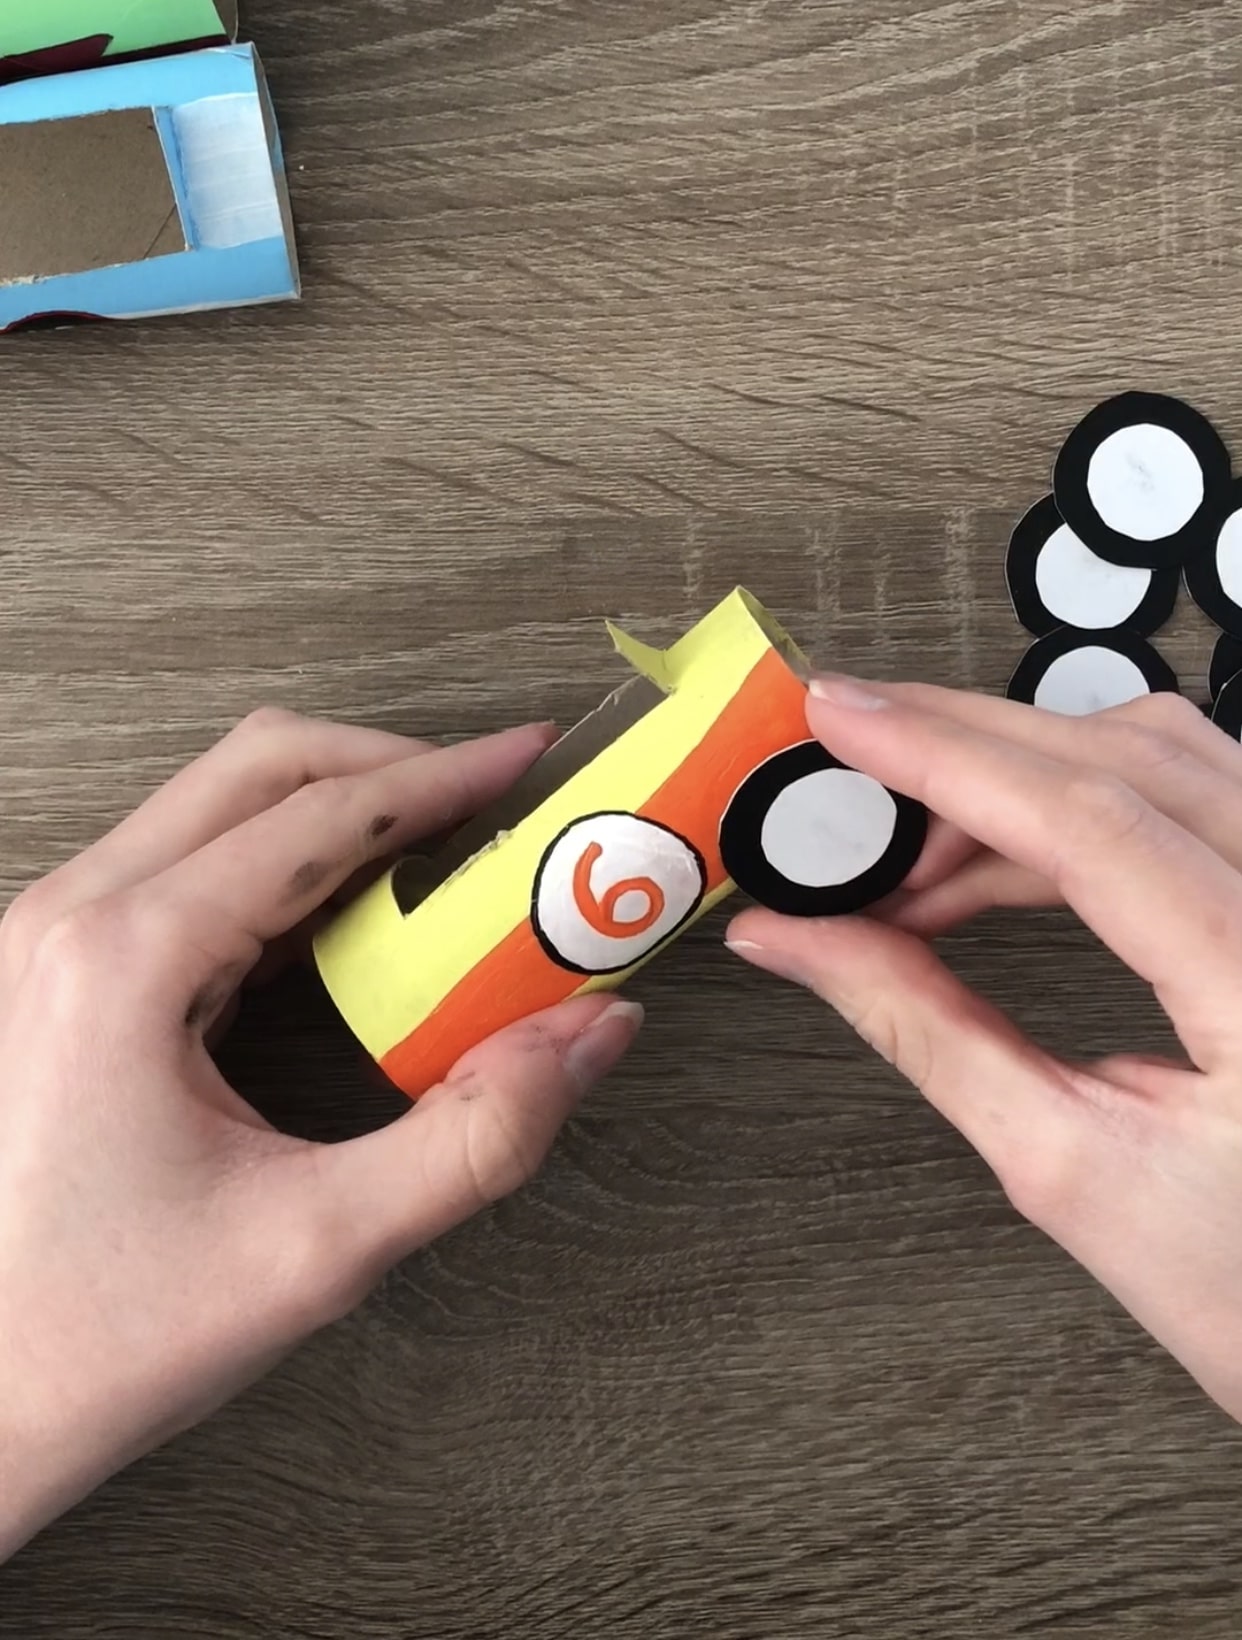
The next step is to attach your wheels to the toilet roll racing cars! Again, we used all-purpose quick-drying glue to attach the paper wheels to the toilet roll cars. Tip: If you happen to have small brads/paper fasteners at home, you can also use those to attach the wheels. This means your cars’ wheels will be able to roll!

And here’s how your recycled toilet paper roll racing cars might be looking! We also added steering wheels to our cars by cutting small circles from 400 gram acrylic paper and adding details using black acrylic paint.
Did you enjoy this DIY? We’d love to see your version of our toilet paper roll racing cars! Tag us @babysits on Instagram or share with us on Facebook @babysits.
And for more crafty inspiration, be sure to check out our other DIYs.


